
Kava (Piper methysticum) is a traditional plant medicine from the islands of the Pacific. The root is used mainly for relieving anxiety, supporting sleep, relaxing tense muscles and taking the edge off chronic stress — see the kava monograph for the full pharmacology and safety picture.
With such a long history of use, some well-established preparation rituals have grown up around the plant, and many are still the common method today. This guide breaks down the whole process of brewing kava the traditional way, then covers four faster alternatives.
Preparation matters more with kava than with most herbs. The active kavalactones are only sparingly water-soluble, so how thoroughly you work the root into the water largely decides how strong the drink turns out. If you want speed, skip to the AluBall or blender method.
Method #1: The Traditional Method
This method has been used to make kava for hundreds of years on the Pacific islands. The ceremony differs from island to island, but the mechanics of the brew are consistent.
Preparation time: 15–20 minutes
What you’ll need: powdered kava root (about 10 g per person), a strainer bag, a large mixing bowl, warm water (about 200 mL per 10 g dose), and a food scale.
Step 1: Weigh Out Your Dose
Most kava sold online is a fine dried root powder. Use a food scale rather than measuring spoons — differences in grind (coarse or fine) change the weight in a spoon dramatically.
The standard dose is 10–20 g of kava powder per person, with about 200 mL of water for every 10 g of powder. That is a reasonable starting point; adjust over time to suit you.
Step 2: Add Other Herbs (Optional)
Most people don’t add anything, but kava mixes well with a few other relaxing herbs. Weigh them alongside the kava so each dose stays accurate, then simply stir them through the powder.
| Herb | Amount per dose | How it helps |
|---|---|---|
| Damiana (Turnera diffusa) | 2 g | Eases anxiety, supports sleep, improves flavour, adds euphoric benefits |
| German Chamomile (Matricaria chamomilla) | 1 g | Improves sleep, adds flavour, strengthens kava’s GABAergic effects |
| Passionflower (Passiflora incarnata) | 3 g | Eases anxiety, supports sleep, adds to kava’s MAO inhibition |
| Kratom (Mitragyna speciosa) | 3 g | Adds potent pain relief, offsets kava’s sedation |
| Lavender (Lavandula angustifolia) | 2 g | Improves flavour, supports sleep |
| Hops (Humulus lupulus) | 1 g | Improves sleep, boosts kava’s GABAergic effects |
| Ginger (Zingiber officinale) | 1 g | Reduces nausea, improves flavour |
Step 3: Fill The Strainer Bag
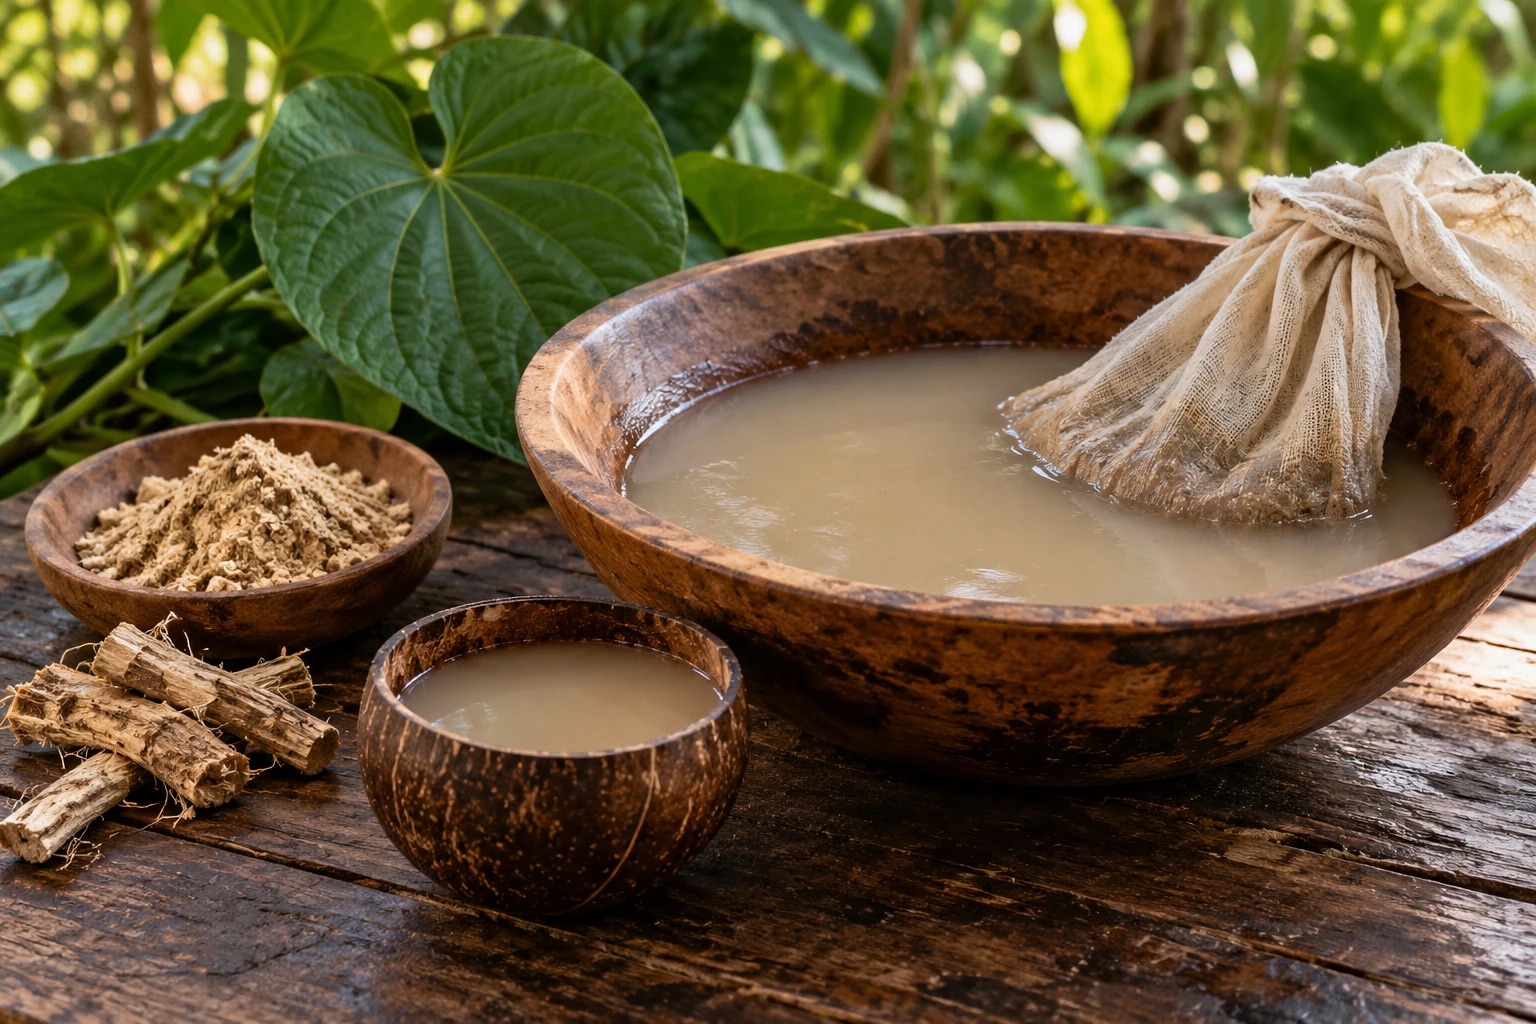
You’ll need a large mixing bowl and a strainer bag — a cheesecloth or a clean stocking also works. Add the kava to the bag and place it in the bowl with roughly 20 times as much water in millilitres as the weight of kava in grams. For a standard 10 g dose, that’s about 200 mL.
Less water makes a stronger brew, more makes it thinner. Don’t use hot water — lukewarm or slightly warm is best, as heat degrades the kavalactones.
Step 4: Mix Thoroughly
Massage the bag of kava through the water, squeezing and moving it around. The bag keeps the powder contained so it doesn’t turn the drink lumpy. Mix for at least 15 minutes — this is the step that decides potency, and it’s the one people rush.
You’ll end up with a brew that smells faintly peppery and looks like muddy water. That’s correct.
Step 5: Bula — Drink Up
Separate into cups and drink. Kava doesn’t taste good, and most first-time drinkers struggle with it; it helps to drink it down quickly rather than sipping. The flavour bothers you less the more often you drink it. Pineapple juice is especially good as a chaser.
Method #2: The AluBall
If mixing for 15 minutes doesn’t appeal, the AluBall is a modified shaker bottle designed for kava, with a sealed strainer ball in place of the bag.
Preparation time: 1–2 minutes
What you’ll need: powdered kava root, an AluBall kava maker, warm water.
Step 1: Fill The Strainer Ball
Fill the strainer ball to about three-quarters with kava powder — still weigh the first few doses so you know what that actually equals. Seal it and drop it in the bottle.
Step 2: Add Water
Add water to the fill line, more or less to taste. If you’re not drinking straight away, leave the water out until you are — a filled ball travels fine dry.
Step 3: Shake Vigorously
Shaking does the job the strainer bag does by hand. The AluBall suggests 30 seconds; shake for at least a minute to avoid a weak brew. You’ll get the same murky brown liquid, ready to drink from the bottle or poured out to share.
Method #3: The Blender
The blender method works in reverse to the traditional one: powder and water go in together, and you strain afterwards. It’s quick and makes a notably strong preparation — strong enough that it’s worth starting with a smaller dose than usual.
Preparation time: about 1 minute
What you’ll need: powdered kava root, a blender, warm water, a food scale, a strainer bag.
Step 1: Measure The Dose
Weigh as usual, 10–20 g per person. This method suits larger batches particularly well.
Step 2: Blend
Use a little more water than other methods so the powder doesn’t clump around the blades — about 250 mL per 10 g of kava. Blend on low or medium for about a minute, until it takes on the characteristic muddy look.
Step 3: Strain
Pour through a strainer bag or cloth coffee filter to remove the fibrous material. Avoid paper coffee filters — they strip out too much of the active resin and defeat the point.
Step 4: Serve
Pour and drink. Leftovers keep in the fridge, but finish them within about 48 hours — label the bottle with the date you made it.
Method #4: Instant Kava
This requires a specific product. There are two things sold as “instant kava”:
- Micronized kava root powder — root ground to a very fine powder
- Freeze-dried or dehydrated kava root juice — kava that has been juiced, then dried
Both work, but true instant kava is the dehydrated juice. It tastes better and dissolves properly instead of leaving grit.
Preparation time: 30 seconds to 1 minute
What you’ll need: instant kava powder, a cup, warm water.
Step 1: Measure Your Dose
Follow the packaging — instant powders vary a lot in concentration, so the label is a better guide than any general rule. Typically around ½ tsp per person.
Step 2: Add Water And Stir
Again, not boiling water — hot water destroys kavalactones. Dehydrated-juice kava dissolves almost immediately; micronized powder needs longer and benefits from a hand mixer.
Step 3: Drink Up
Honey, agave or other flavourings help a little, though not much. Kava isn’t a drink you make for its flavour.
Method #5: Kava Concentrates
Concentrates are made by extracting the kavalactones out of the root and discarding the fibre. They come as a fine powder or a paste.
Lower-potency concentrates (30% kavalactones or less) mix by hand much like instant kava. Higher-potency ones (above roughly 50%) resist dissolving — these are best taken directly off a measuring spoon and chased with water, or held briefly under the tongue for faster absorption. It will make your mouth numb.
Dosing varies enormously with strength, so follow the label rather than any general figure.
Preparation time: 2–3 minutes
What you’ll need: kava concentrate, a cup, warm water.
Kava Drinking Etiquette
Etiquette varies between cultures, and none of it is required when you’re drinking at home. It matters when you attend a kava ceremony on one of the Pacific islands, where you should follow the lead of your hosts.
- Dress modestly when attending a ceremony — men and women alike
- The oldest member of the group drinks first
- The youngest member fills each cup from the mixing bowl and passes it around
- You can ask for “high tide” or “low tide” — a full or half cup
- On receiving your cup, clap once and say “Bula” (Fijian for hello)
- Don’t pull a face after drinking, however much you want to
- Drink it in one gulp and pass the cup back for the next person
- When you finish, clap three times and say “mathe” — roughly, thank you
Final Thoughts
Preparing kava is conceptually simple: dissolve the active ingredients into water. What makes it fiddly is that kavalactones don’t dissolve readily, so the mixing does most of the work.
The traditional method spends 15–20 minutes working a strainer bag through water. Everything since has been an attempt to get the same extraction faster — the AluBall shaker, the blender, instant powders, and concentrates that skip extraction altogether.
There’s no wrong method. Try a few and find the one you’ll actually keep doing.
Bula!
Clinical herbalist and the writer behind The Sunlight Experiment — an evidence-based pharmacopoeia of herbs, supplements, and the chemistry behind them.